Migrating the homelab: Software (Part 1)
With the hardware all set up, it was time to start migrating the software from my old setup. Right now, all of my services are running on a single machine that runs Ubuntu Server. It’s worked well for the last few months, but now I’m going to moving to a set things up in VMs.
Preparing for downtime
Shutting down my existing server is probably the most nerve-wracking part of this whole process. I’m hosting some of my most important sevices on it like my password manager and my cloud storage, so I need to make sure that I have everything backed up before I start.
I’ve got Portainer set up on the server, so I can easily see what containers I have running, and I can use that to keep track of what I need to back up. The two main services that I need to make sure I have backups of are Bitwarden and Nextcloud. Bitwarden is easy enough to back up, since I can just export the vault to a file, but Nextcloud is a bit more complicated. There are a few ways to back up Nextcloud, but I’m going to be using the simplest method, which is to just copy-paste the contents of my nextcloud to my OneDrive.
After backing up the data, I shut down each container and verified that my backup service (either bitwarden or ondrive) was working, in case I can’t get the new setup working.
I also had to change the internet settings on my PC and phone to use my home router as the DNS server, since I’ll be shutting down the Pi-hole server.
Setting up the new server
With all of the critical services backed up, I could plug in my Proxmox boot drive, reboot the Larkbox into BIOS, and start the Proxmox installer. The installation was pretty straightforward, and I was able to get Proxmox up and running in about 10 minutes.
It’s worth noting that I assigned static IPs for the management interface and the VM bridge, since I’ll be using them to access the Proxmox web interface and the VMs respectively.
With Proxmox installed, I went through the usual initial setup steps like changing the update repository and running an update. I also changes the Network Interface Card (NIC) settings to use the GbE port for management and the 2.5GbE port for the VM bridge, and assigned the static IPs that I set earlier.
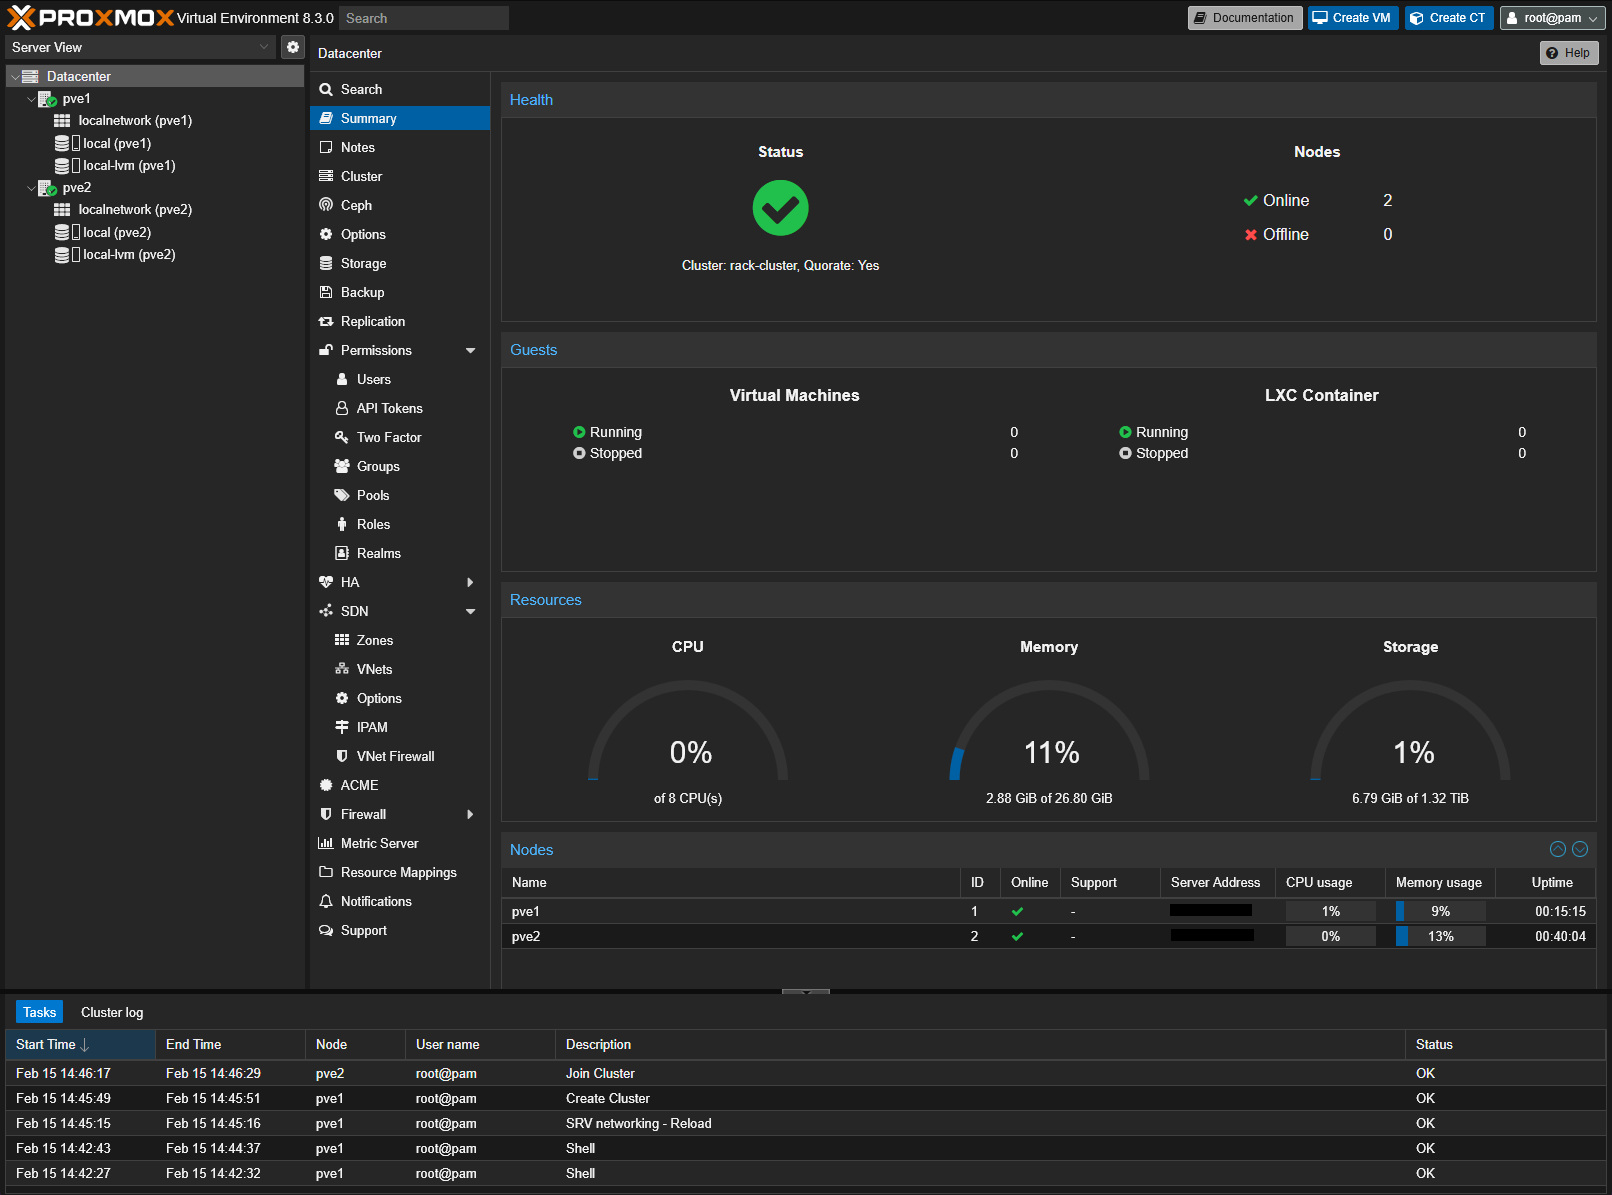
Since I now had two machines running Proxmox, I wanted to set them up as a cluster. I went into the Brick’s Proxmox web interface, and set up the cluster. I then tried to join the cluster from the Larkbox, but I kept getting an error. Then I realised that because I didn’t reboot the Brick after changing its IP settings, it was still using the old IP. You can’t change the IP of a Proxmox cluster after creating it, and you can’t un-create a cluster, so I had to reinstall Proxmox on the Brick.
After reinstalling Proxmox on the Brick, I set up the cluster again, and this time it worked. I now had a two-node Proxmox cluster, which is pretty cool, and it lets me manage both machines from a single web interface.

Adguard Home in an LXC
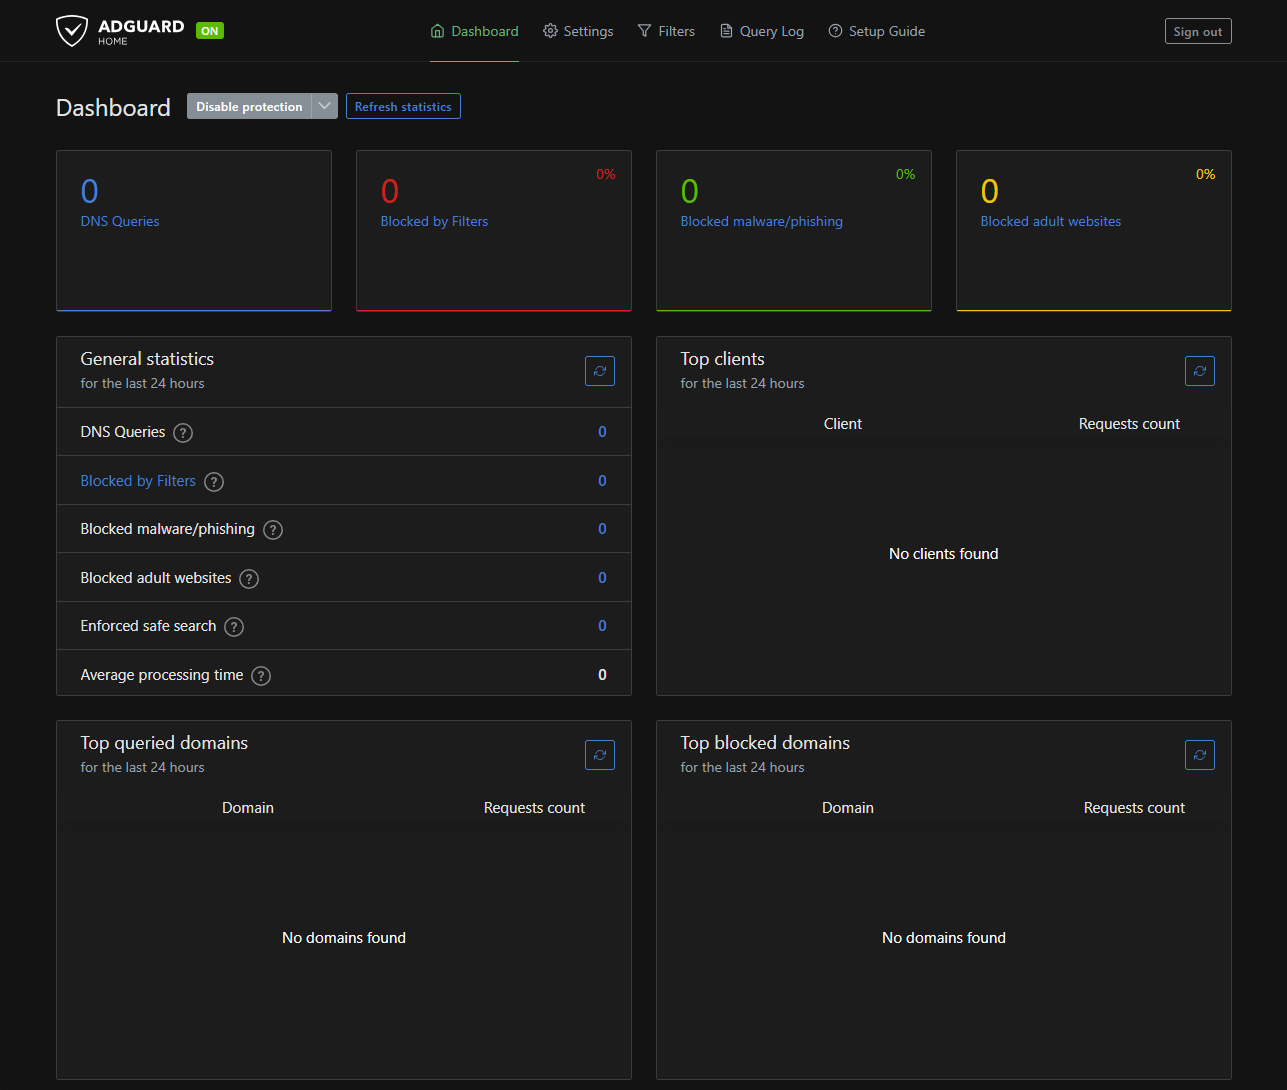
The first service that I wanted to set up was Adguard Home. I’ve been using Pi-hole for the last few months, and it’s been great, but I wanted to try something new. Adguard Home is similar to Pi-hole, but it has a few extra features like DNS-over-HTTPS. My long-term plan is to have a dedicated machine running Adguard Home, but the Raspberry Pi that I plan to use doesn’t have an appropriate power supply, so while I wait for the PoE hat to arrive, I’ll be running Adguard Home in an LXC on the Larkbox.
I used this (video)jims-garage-lxcs by Jim’s Garage as a guide to set up the LXC, and it was pretty straightforward. I just had to create a new LXC based on Debian 12, assign a new static IP, and run the automated installer script.

I then changed the DNS settings on my PC and phone to use the new Adguard Home server, and everything worked perfectly. I’ll be keeping an eye on the server for the next few days to make sure that it’s working as expected, but I doubt any issues will pop up.
I’m not going to change my Proxmox setup to use Adguard Home as the DNS server, since I’m planning on moving it to a dedicated machine soon, and I don’t want to have to change the DNS settings on all of my VMs. I also don’t know if pointing the Proxmox servers to the Adguard Home server would cause any recursion issues, so I’ll just leave it as is for now. It ain’t broke, so I ain’t fixing it.
First VMs and Portainer
Next, I needed to set up my VMs. My plan is to have all external facing services on the Brick, and all internal services on the Larkbox. I created new VMs, each with 4 cores, 8GB of RAM, and 64GB of storage, and installed Ubuntu Server 24.04 on them, followed by Docker Engine.
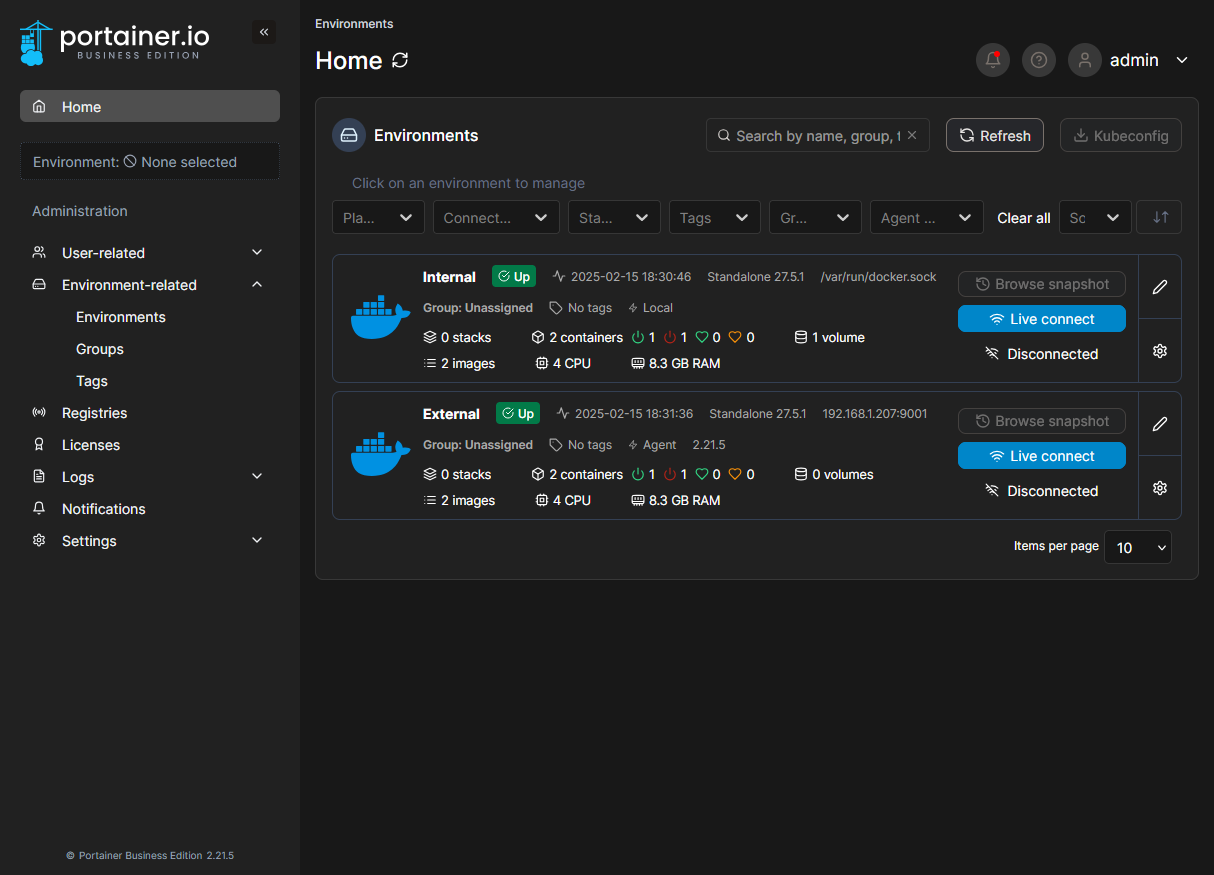
Then I installed Portainer BE on the Larkbox, and used the Portainer Agent on the Brick to connect it as a remote environment so I can view the containers on both machines from a single web interface.

Reverse proxy
The last thing I did for the day was to set up a reverse proxy on the Brick. I used Traefik Proxy since it’s what I used on my old setup, and it’s been working well for me. I set up a new container with the basic Traefik image, and configured it to use the Docker socket to automatically detect new containers. I then added a whoami container for testing.
Once I tested that Traefik was running, I went back to a previous post where I set up the reverse proxy for my services, and copied the relevant parts of the Traefik configuration and docker-compose to the new setup. Except whoops there’s no config in a previous post, it’s just a link to the Techno Tim video. So I just copied the config from there.
It’s worth noting that this time around, things felt smoother than before. It might be because I’ve done this before, or it might be because my DNS is on a separate server, but either way, things went well. There was a slight issue when starting the container stack due to permissions in the acme.json file, but I was able to fix that by changing the permissions on the file in the container itself to 600.
Vaultwarden
Now that I had the reverse proxy set up, I could start setting up the services that I had backed up earlier. The first service that I wanted to set up was Vaultwarden, which is an unofficial bitwarden server. I just copied the docker-compose file from the GitHub repo, added the labels for Traefik, and ran docker-compose up -d.
It did throw an error because port 80 was already in use, but I was able to fix that by changing the port in the docker-compose file to 81. I then went to the Vaultwarden web interface, and imported the backup that I had made earlier. Everything worked perfectly, and I was able to log in and see all of my passwords. I then copied all of the new passwords into the Vaultwarden server and deleted the backup.
Dynamic DNS
The last thing that I did for the day was to set up a dynamic DNS service. Previously I used Cloudflare Tunnels to expose my services to the internet, but I wanted to try something new. I decided to use a dynamic DNS since (at least to my knowledge) it was the more conventional way to do it.
Since I’m using Cloudflare for my DNS, I decided to follow their guides on how to set up a dynamic DNS. They provide three different ways to do it, but I decided to use the DDClient method. The DDClient github doesn’t have a Docker method, so I followed (this)raidowl-ddns video by RaidOwl to set it up.
I got the DDClient container up and running, and it was able to update my Cloudflare DNS records. But it turns out my family has some other services that are already exposed via port forwarding on the router, so I gave up on the DDNS idea and just set up a Cloudflare Tunnel for the new services.
Cloudflare Tunnel
Except clearly that didn’t work. I spent way too long getting 500, 502 and 1000 errors until I realised that because I intentionally left my Proxmox servers on the default DNS, the Cloudflare Tunnel couldn’t resolve the domain names. I changed the DNS settings on the Proxmox servers to use the Adguard Home server, but things still aren’t working. I’m still getting error 1000. When I change the service URL to be different from the target URL, I stop getting error 1000, but then it becomes a host server DNS error. Either way, I’ll leave it here for now.